Acquire and examine requisition. A written order is required for each test performed unless the testing falls under Direct Access Testing guidelines. Check for special specimen handling instructions before drawing, such as cooling in ice or wrapping in foil. Have all special equipment ready before beginning, including ordering labs prior to phlebotomy.
Introduce yourself to the patient
Identify the patient by asking their name and comparing it to the requisition and printed labels. Visual recognition can be used as a secondary identifier, but not as a primary
State the procedure you are to perform and answer any questions they may have.
Informed consent is necessary before drawing in all cases. Patients who refuse to be drawn have the right of refusal and cannot be forced or constrained. This right extends to children, even at the insistence of their parents. At times it may be necessary to ask the parents to leave the room or have the physician or provider talk to the child. A phlebotomist can be legally charged with assault and battery if blood is obtained without permission of the patient. Inform the licensed provider of the patient’s refusal and note on the requisition “Patient refused to be drawn”, date and time provider was contacted and your initials. If blood must be drawn, the provider may make the decision to restrain. Special informed consent forms may be required for certain drug tests as well as HIV testing.]
Verify diet restrictions (such as fasting state for IR panels or lipid studies) and time of last dose for medication checks.
Prepare the venipuncture equipment
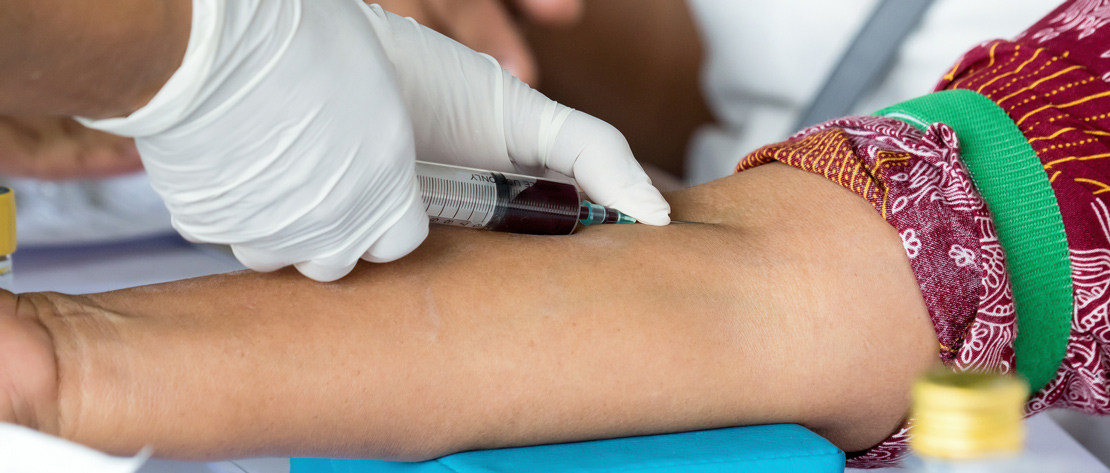
Select a venipuncture site, preferably the median cubital vein within the antecubital fossa, or if veins in arm are not accessible the dorsal venous arch in the hand can be used.
Apply the tourniquet (tourniquet cannot be kept on for longer than 2 minutes – release it while preparing equipment & re-tighten when ready to perform phlebotomy)
Palpate the venipuncture site
Clean the site with alcohol (please check specific cleansing requirements when drawing blood culture tubes or blood alcohol levels)
Put on gloves
Allow the site to air dry, do not blow or fan to facilitate drying, as this may introduce contaminants. Un-dry alcohol can cause a stinging sensation which is uncomfortable to the patient.
Insert the needle
Engage evacuated tube onto needle holder & allow tubes to fill. See proper draw order protocol.
Release tourniquet
Remove the needle from the arm
Apply pressure to venipuncture site, have patient maintain pressure for 3-5 minutes with the arm in a straight position, not bent at the elbow. If bleeding has not yet stopped, have the patient raise their arm and maintain pressure. Use of coumadin or other anticoagulants may cause the patient to bleed considerably longer than usual.
Check venipuncture site for clotting. If still bleeding, have patient continue to hold until all bleeding has stopped, not just on the surface but at the vein level. Apply a bandage, coflex, or piece of tape to the cotton ball or gauze and instruct the patient to leave in place and not bend the elbow unnecessarily for about 15 minutes.
Properly put away and dispose of all other supplies and equipment that were used.
Thank the patient and ask if they have any questions.