Dermal Puncture
The following procedures are for a dermal puncture (finger stick) method of specimen collection.
- Acquire and examine requisition. A written order is required for each test performed unless the testing falls under Direct Access Testing guidelines. Check for special specimen handling instructions before drawing, such as cooling in ice or wrapping in foil. Have all special equipment ready before beginning, including ordering labs prior to phlebotomy.
- Introduce yourself to the patient
- Identify the patient by asking their name and comparing it to the requisition and printed labels. Visual recognition can be used as a secondary identifier, but not as a primary
- State the procedure you are to perform and answer any questions they may have.
- Informed consent is necessary before drawing in all cases. Patients who refuse to be drawn have the right of refusal and cannot be forced or constrained. This right extends to children, even at the insistence of their parents. At times it may be necessary to ask the parents to leave the room or have the physician or provider talk to the child. A phlebotomist can be legally charged with assault and battery if blood is obtained without permission of the patient. Inform the licensed provider of the patient’s refusal and note on the requisition “Patient refused to be drawn”, date and time provider was contacted and your initials. If blood must be drawn, the provider may make the decision to restrain. Special informed consent forms may be required for certain drug tests as well as HIV testing.
- Verify diet restrictions (such as fasting state for IR panels or lipid studies) and time of
last dose for medication checks. - Select puncture site. Use either the third or fourth finger for adults and children, or
the heel on infants. The skin should be warm, pink, and free from bruises, scars, or
rashes. - Warm the puncture size – use a warm wet washcloth or heat pack
- Cleanse site with alcohol prep pad – allow to air dry
- Hold selected appendage firmly
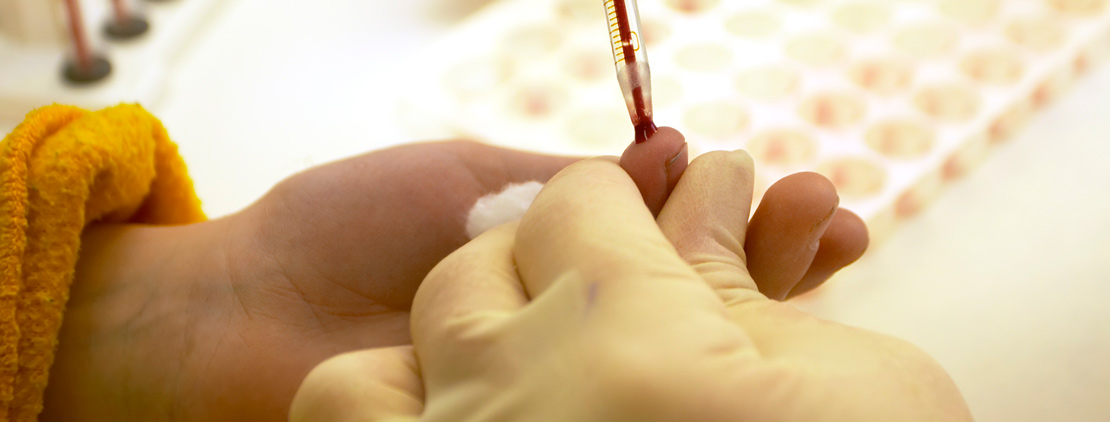
- Using an appropriately sized lancet, puncture the skin in the appropriate place. The lancets used for glucose monitoring are designed to only provide 2 or 3 drops of blood and most micro-collection containers require more.
- Cut to the side of the finger, never in the middle
- Puncture across the fingerprint
- Release the finger and allow first drop to form, wipe away
- Fill necessary tubes or test strips – avoid excessive squeezing as tissue fluids can interfere with testing. The appendage should always be held below the level of the heart to increase blood flow and allow gravity to aid in filling the microtainer. If an anticoagulant is used, gently tap the container on the counter to mix the blood with the anticoagulant. Clotted specimens are unacceptable for many tests and will constitute a cause for specimen rejection. It is important to avoid milking the finger, as that introduces tissue fluid and may cause hemolysis.
- Apply cotton to puncture site and apply pressure to stop the bleeding
- Dispose of lancet in sharps container